English Manual
1.How to install
1-1.You need to install them.
– VRChat SDK
– Graphic Shaders(included Poiyomi poi_Toon_7.3.50_To_8.1.167)
– Post Processing (Unity Window menu > Package Manager > Post Process install!)
1-2.Install unitypackage.
Get Unitypackage and double-clik and install to your unityproject.
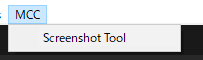
2.How to open tool
Check your Unity window.
you can see “MCC” and click them.
and Click “Screenshot Tool”.
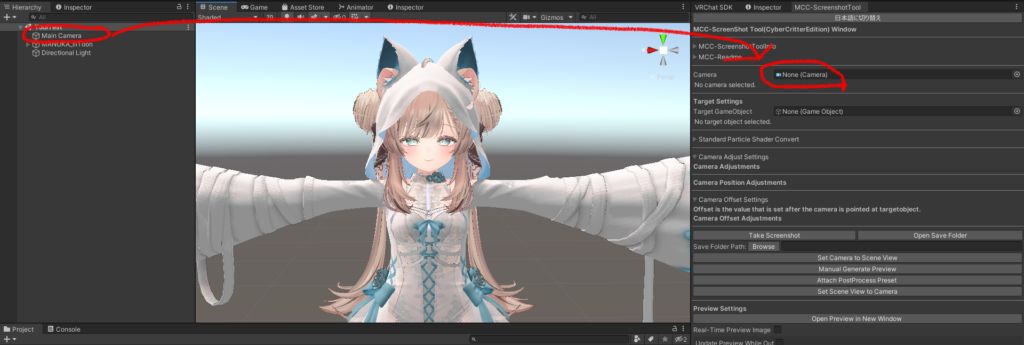
3.Set Camera
You must specify the camera you want to use to take the screenshot. This is absolutely necessary for shooting.
4.Take ScreenShot

4-1.You can save the screenshot by pressing the “Take ScreenShot” button.
4-2.By pressing the “Open Save Folder” button, you will open the folder one level above the folder where the screenshot is saved.
4-3.You can select the screenshot save location by pressing the “Browse” button.
5.(Option)Set Target
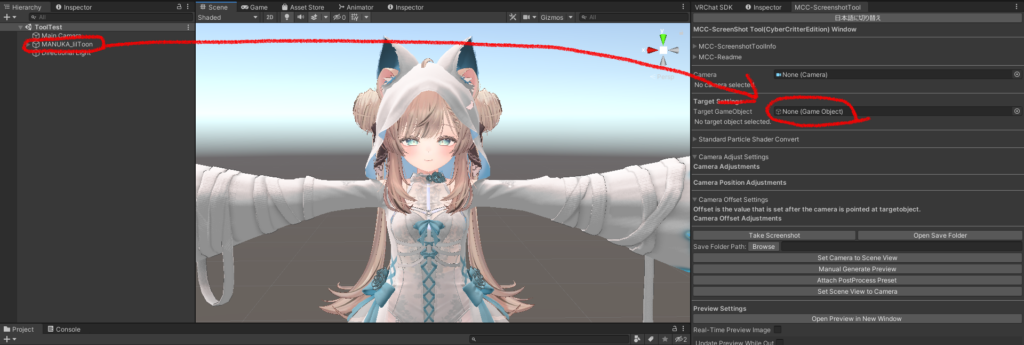
When you specify a specific GameObject as “Target”, “Auto-Adjust Camera Position and Rotation” is automatically enabled.
When photographing an avatar, it is generally recommended to specify “Head”.
If you want to disable the camera’s automatic tracking function, uncheck the “Auto-Adjust Camera Position and Rotation” checkbox.
If you want to manually reflect auto-adjusted camera values into camera position and rotation values, click the “Reflect Auto-Adjust Values” button.
6.Camera Adjust Settings and Offset
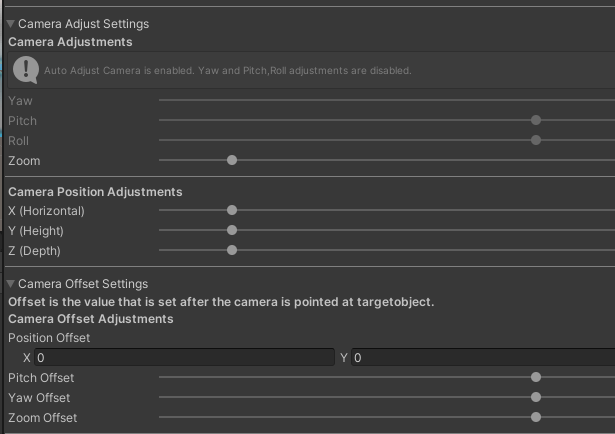
You can make fine adjustments to the camera here. Try playing around with the numbers. By clicking and dragging the item name, you can adjust the value in 0.1 increments.
7.Camera Settings
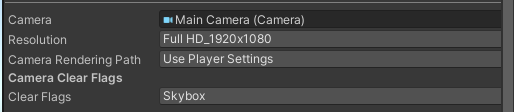
You can select the resolution and image size in “Resolution”.
You can set the rendering path with “Camera Rendering Path”. If you are unsure, please select “Use Player Settings”.
If “Clear Flag” is set to “Depth”, it is possible to output an Alpha transparent image. “Color” and “Solid Color” have exactly the same meaning and effect. It doesn’t matter which one you choose.
8.Another Buttons

When you press the “Set Camera to Scene View” button, the current Scene View viewpoint will be reflected in the Camera.
Press the “Manual Generate Preview” button to manually update the preview image.
Press the “Attach PostProcess Preset” button to manually set post process effects to the camera. It is disabled at first, so feel free to play around with it. This is a button for beginners who don’t even know how to attach PostProcess.
When you press the “Set Scene View to Camera” button, the current Camera viewpoint will be reflected in the Scene View. However, the position will be added in the Z-axis direction.
9.Standard Particle Shader Convert
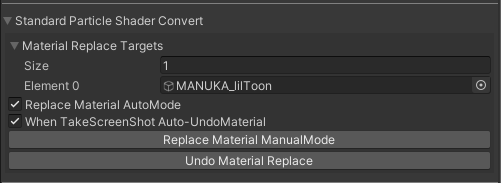
Please specify the target game object to replace the material in the size of “Material Replace Targets”. If you want to replace one item, use 1, and if you want to replace 2, use 2.
The specified game object will be traversed, including all child objects, and automatically replaced if using the Standard Particle Shader.
If “Replace Material AutoMode” is enabled, it will be replaced automatically. This also applies to child objects.
“When TakeScreenShot Auto-UndoMaterial” is a function that restores the replaced material after shooting. This can be used when you want to change the material only during shooting.
“Replace Material ManualMode”This button replaces the material manually. Note! If you press this button twice, pressing the “Undo Material Replace” button will not return you to the original material! Only the material settings information at the time the button is pressed is saved.
“Undo Material Replace” If you manually replaced a material, this will restore the replaced material.